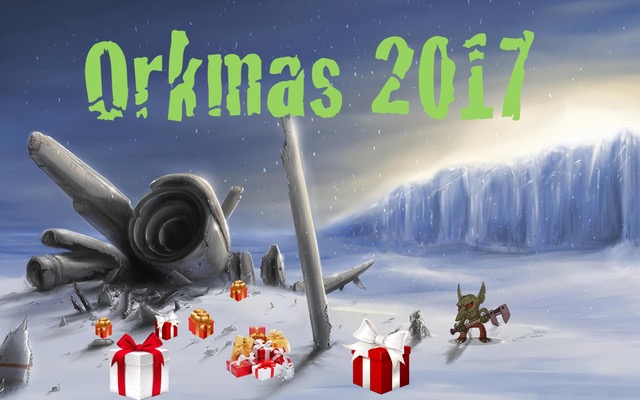
And so it was that three great Ork armies, victorious against the squishy pink hummies of the Empire, fought amongst themselves for the real prize: the legendary (or at least quite-well-known) Forgotten Effigy of Yool’Ty’ed, whose awesome powers (if it indeed have awesome powers—that part is disputed by scholars) could lay waste (or at least slightly bruise) entire planets (or grots).
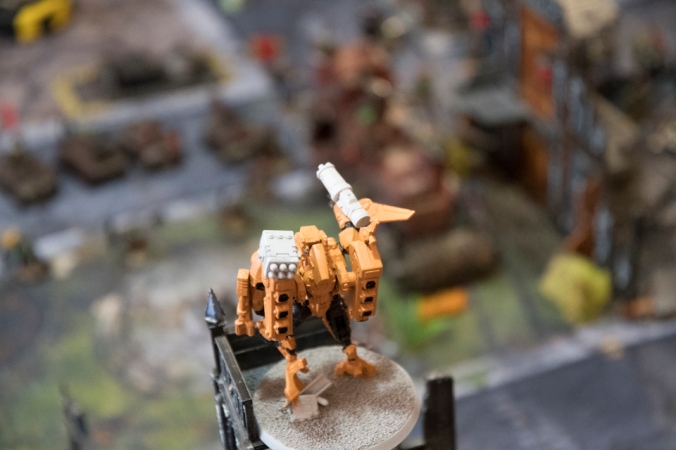
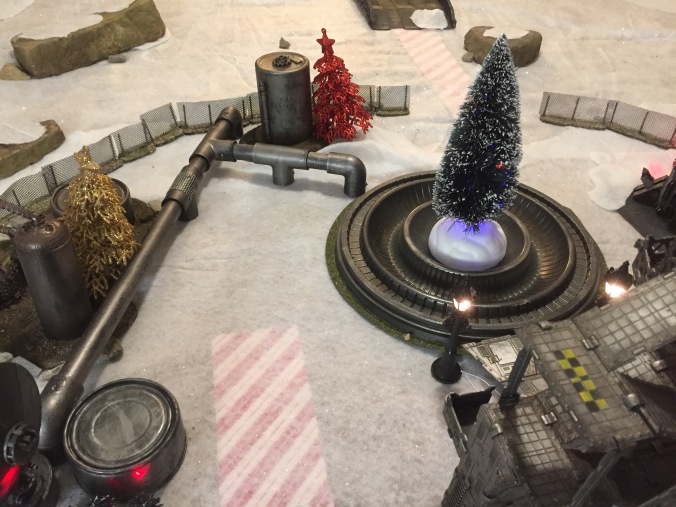
The Forgotten Effigy of Yool’Ty’ed, floating mysteriously in the air above the ruins.
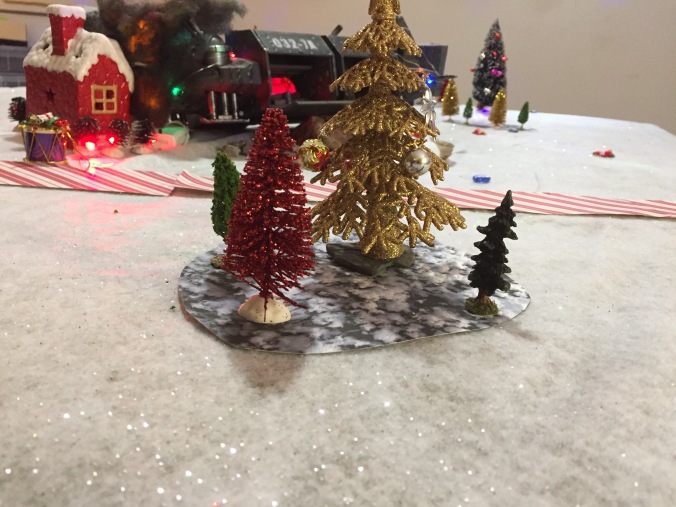
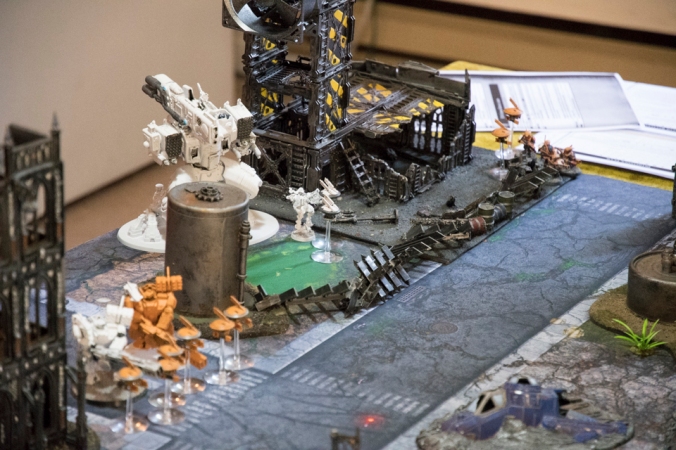
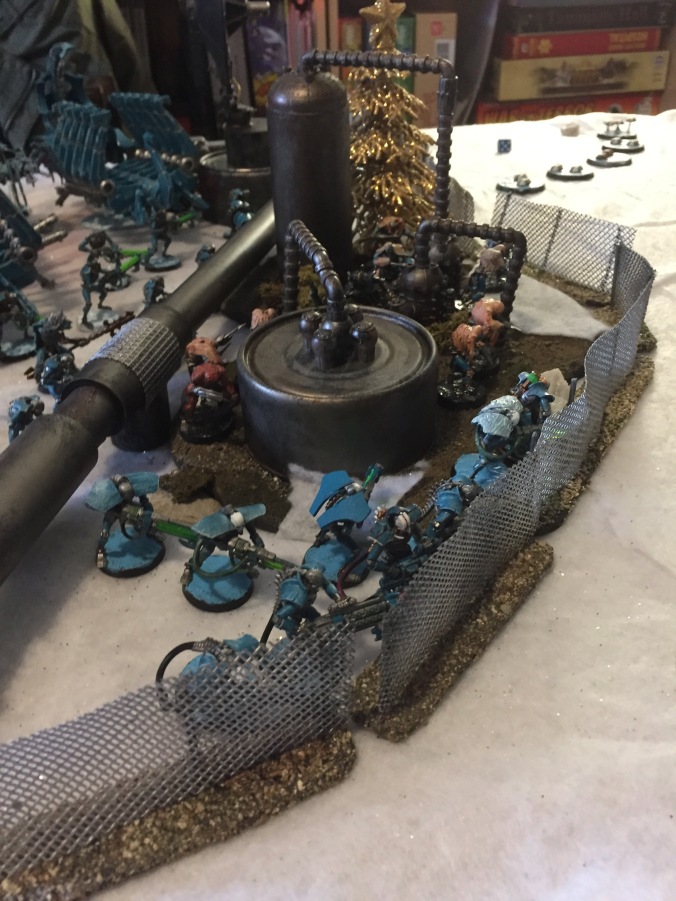
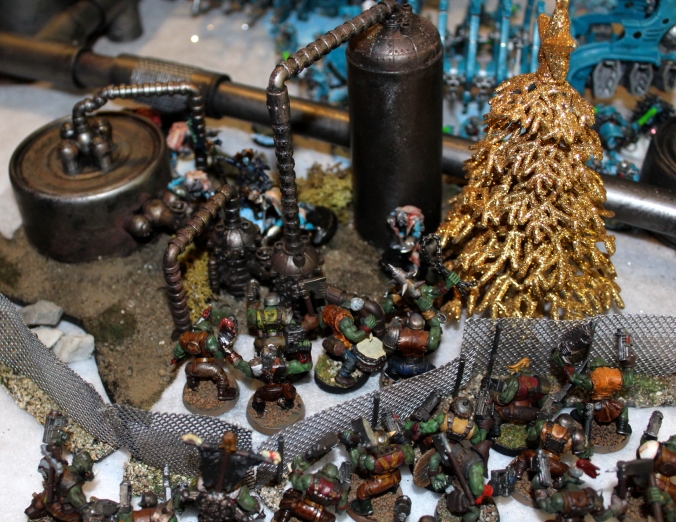
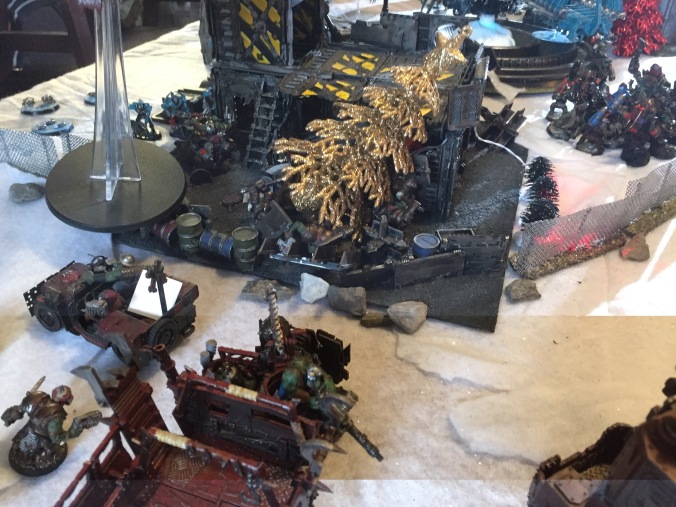
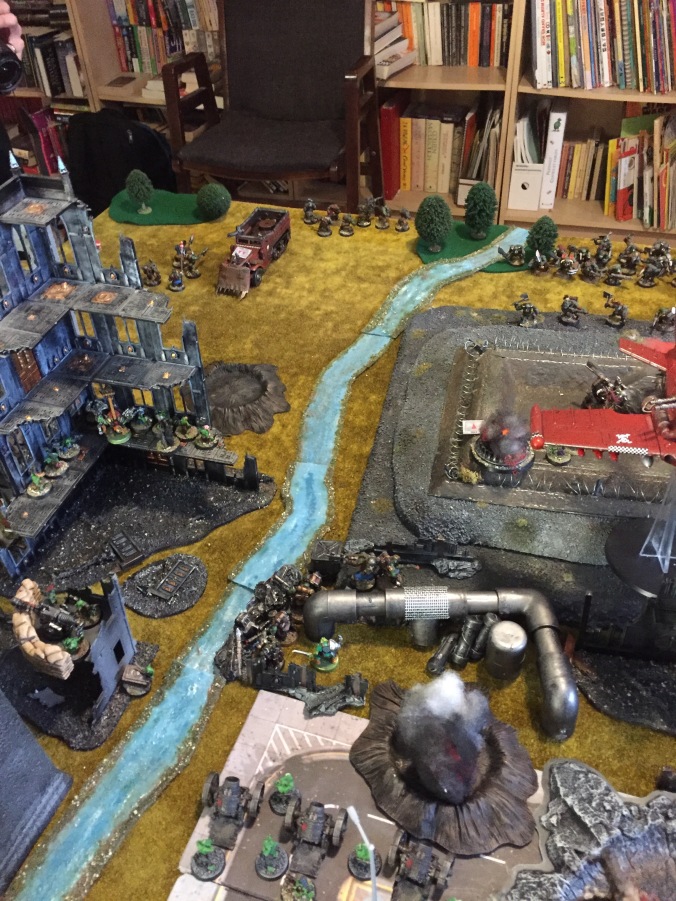
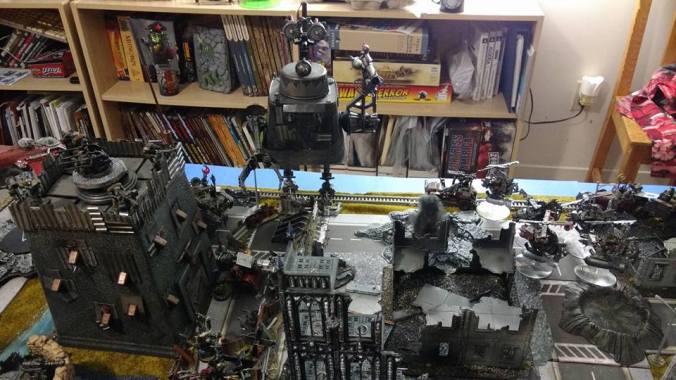
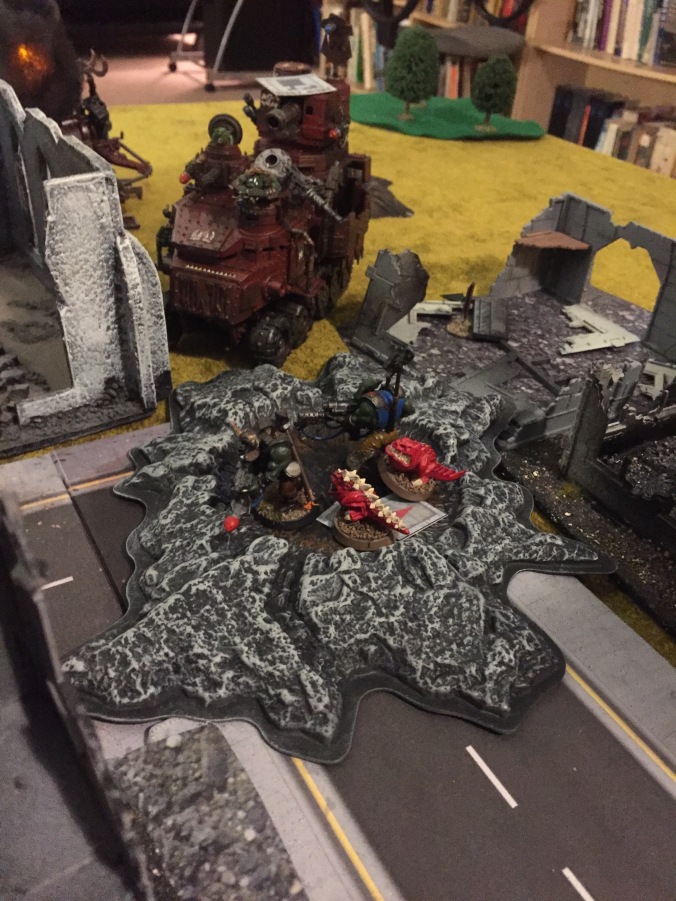
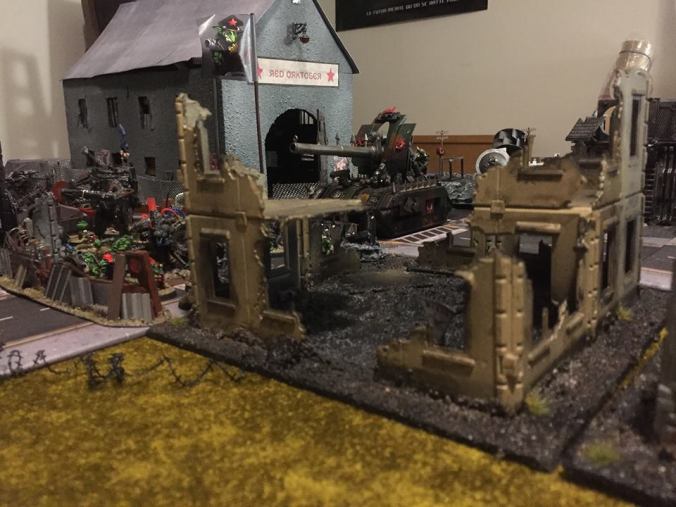
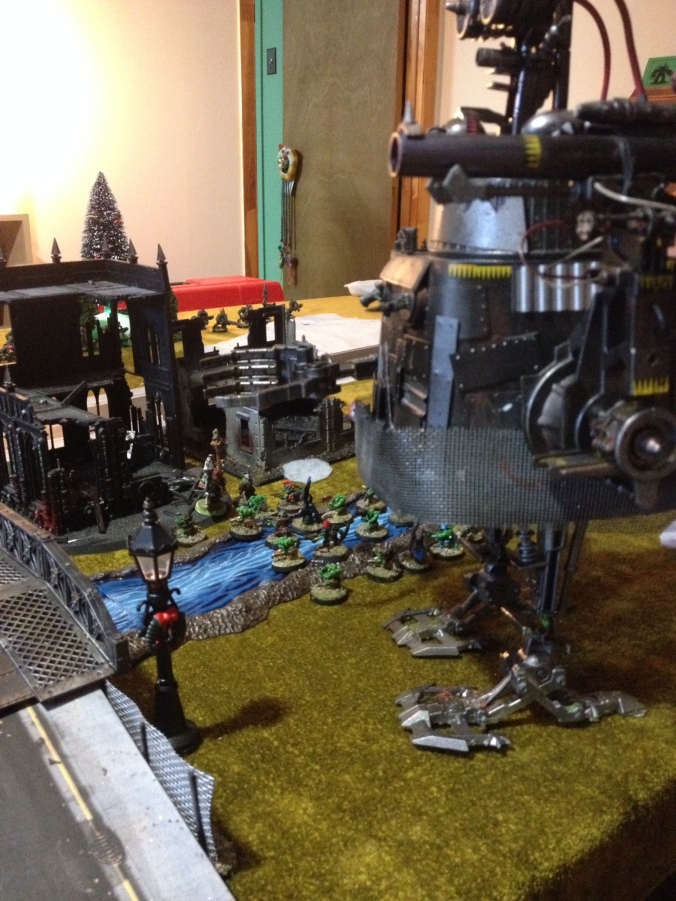
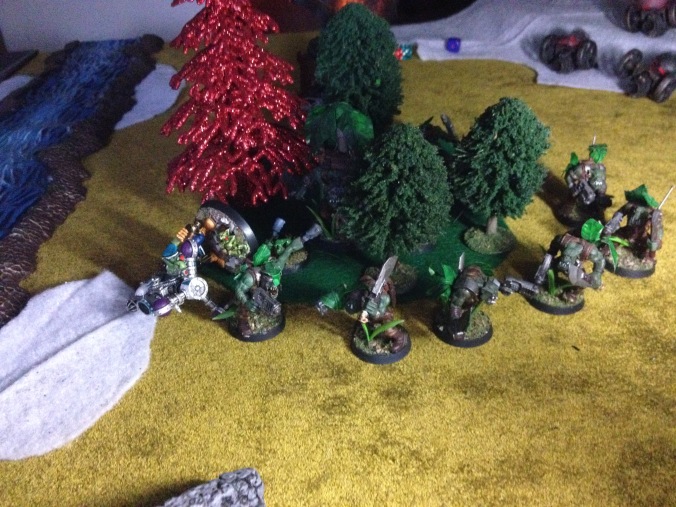
This (maybe) mighty relic lay in a strangely gothic ruined cathedral, deep in the not-so-pretty part of Who-ville.
The not-so-pretty part of Who-ville, looking north across the River What.
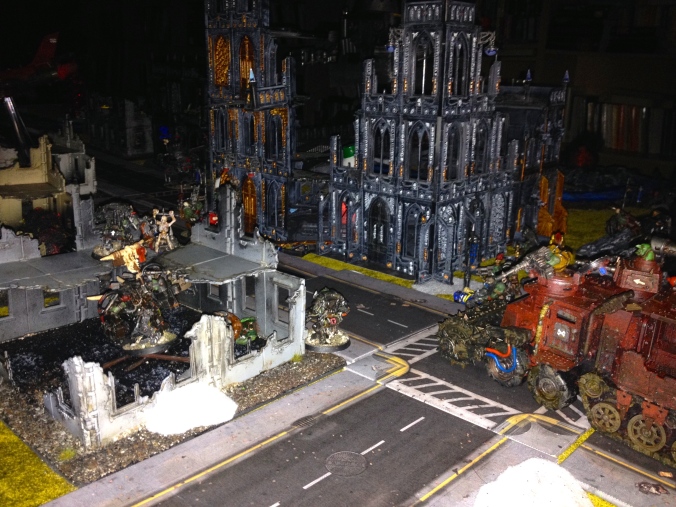
The devastation wrought by prior battle, massive planetary bombardment, and global warming caused by the Whos’ careless overuse of wood-burning fireplaces had caused much the snow to melt, leaving only patches.
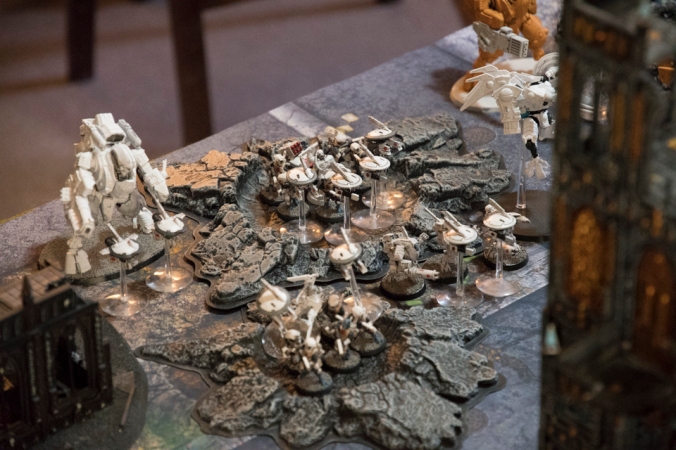
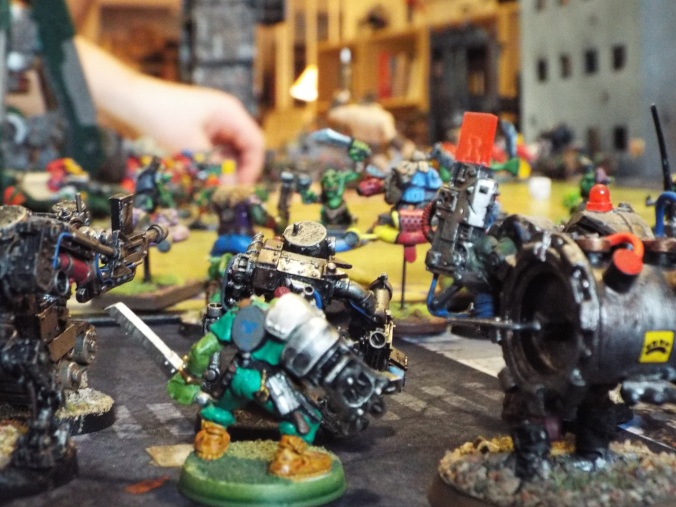
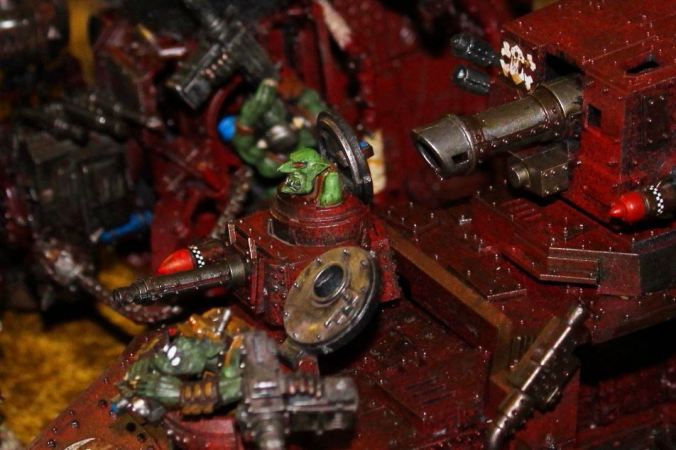
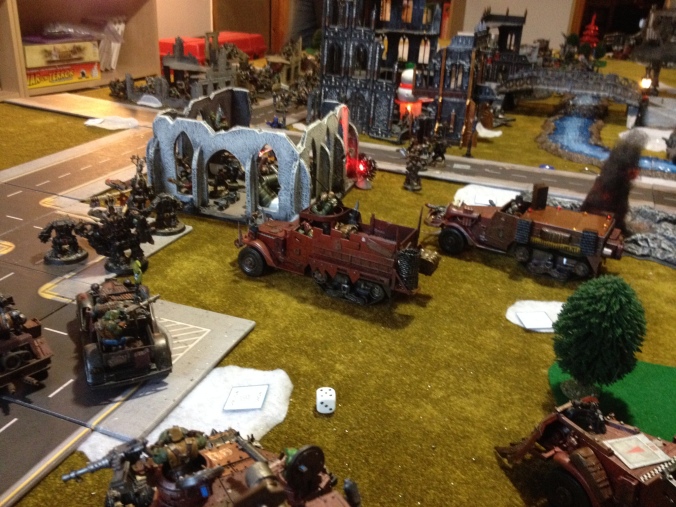
The ever cunning Doctor Morork arrived at the scene of battle in a new cybernetic body and his very latest Stompa, fully kitted out with a Kustom Force Field. He was accompanied by one large units of Grots (accompanied by a Painboy), two smaller units, a squadron of four Killer Kans, and a Deff Dread. Fire support was provided by a battery of three Lobbas, a Kustom Mega-Kannon, and a Shokk Attack Gun. Overhead, a Dakkajet, Burna-Bommer, and Blitza-Bommer would provide close air support once they arrived from reserve. He deployed to the southeast of the town, behind the River What. His plan was to cross the river and seize the ruins opposite with two of the Grot squads. The Kans and Dredd would advance on his right flank to engage the enemy, supported by the artillery and flyers. Then, either the Grots would move the capture the relic, or the Doctor would do it himself in his Stompa.
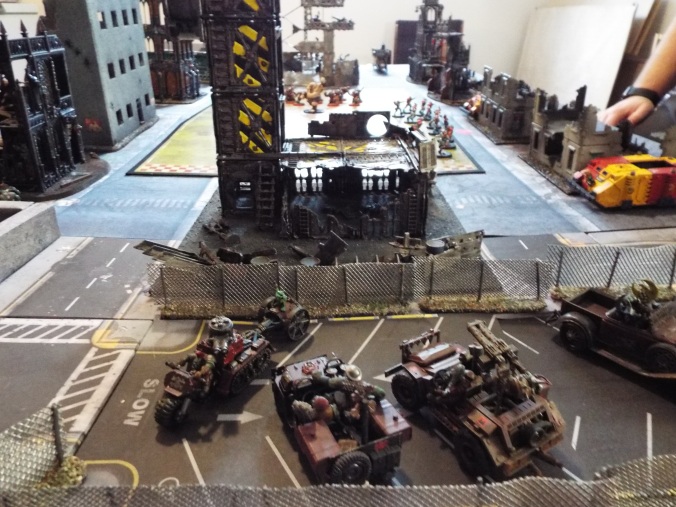
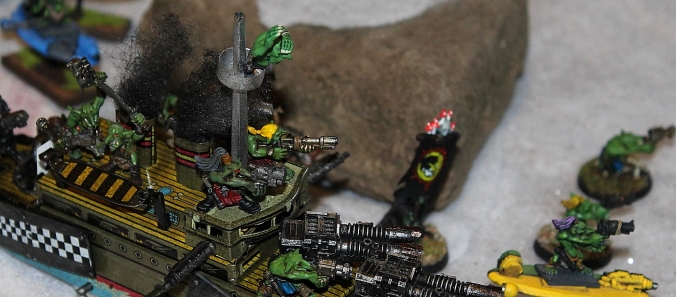
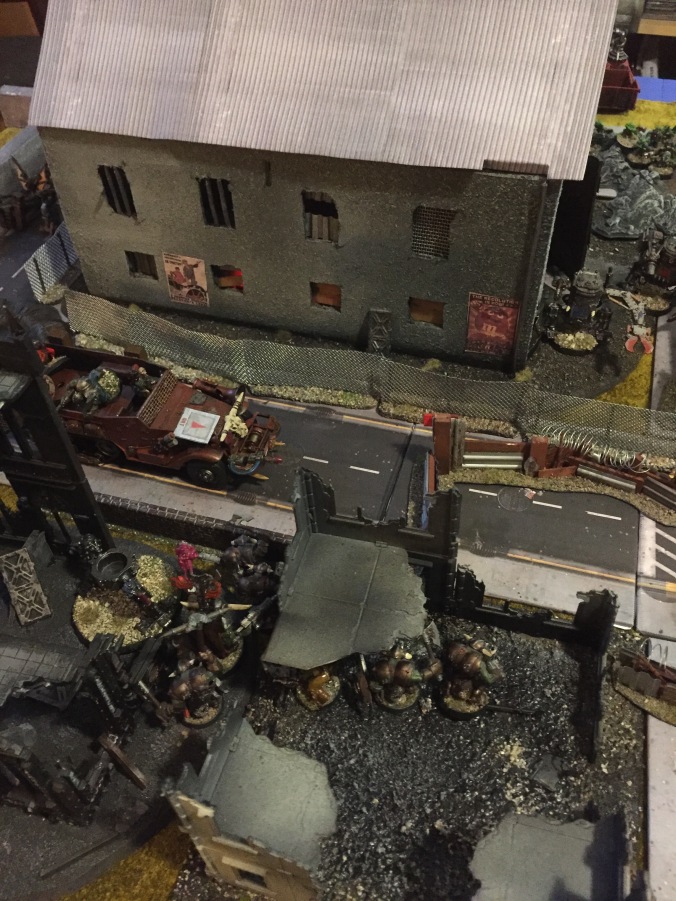
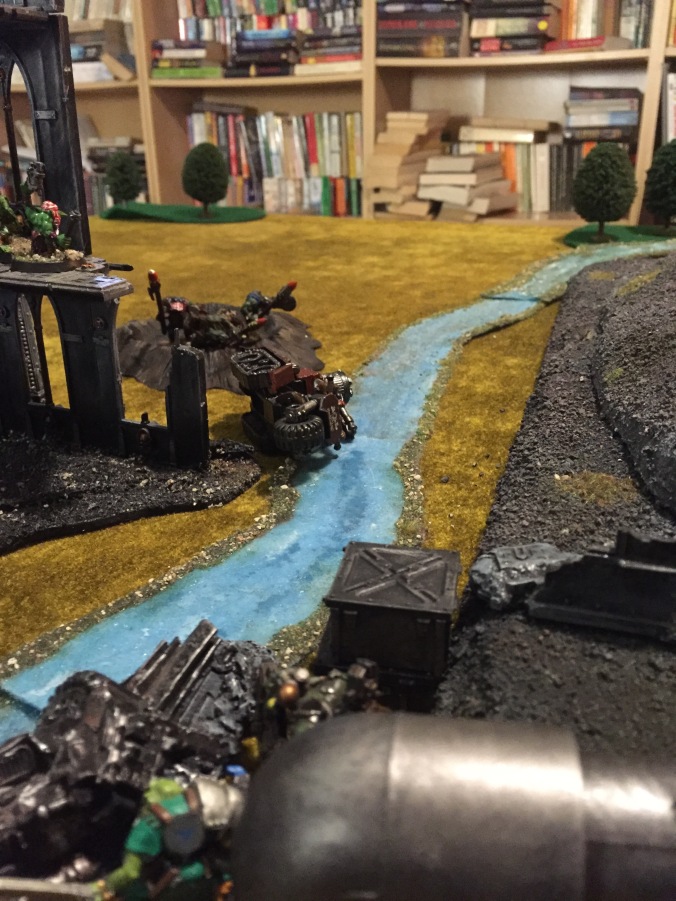
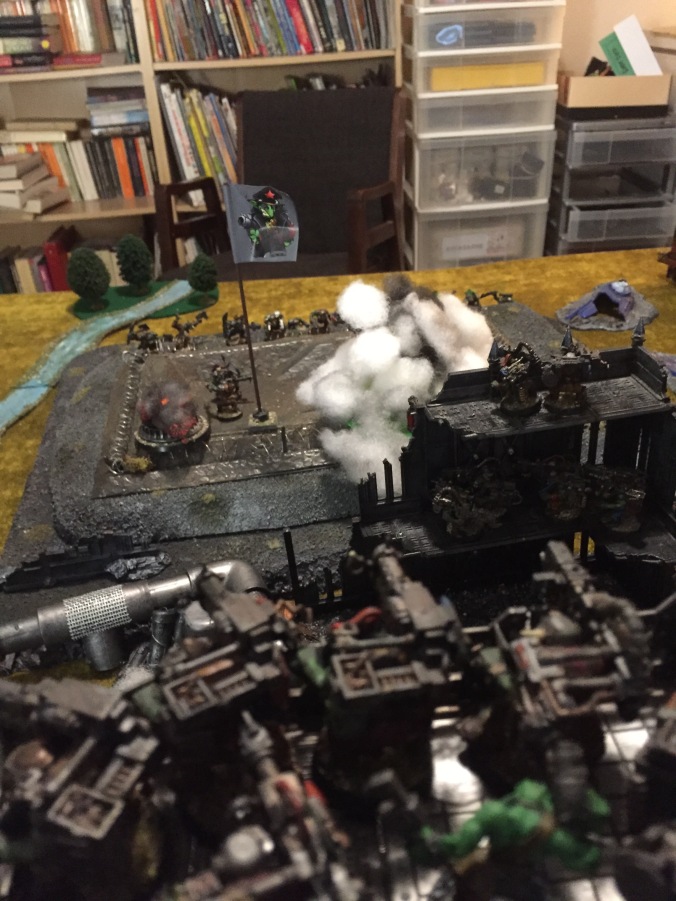
Grots scamper across the River What squeaking with barely-contained excitement, while the Stompa heads towards the bridge.
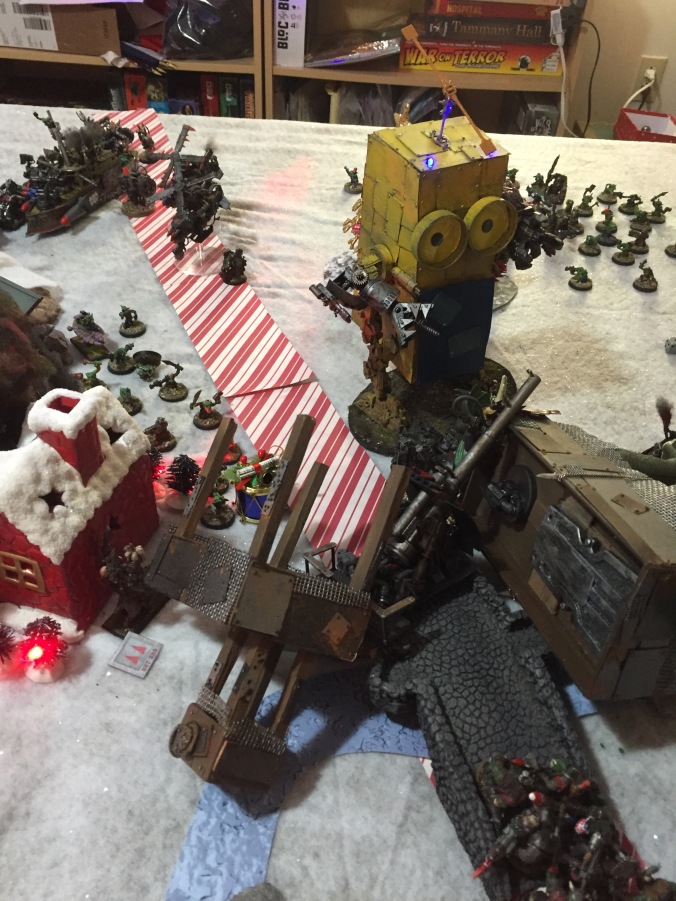
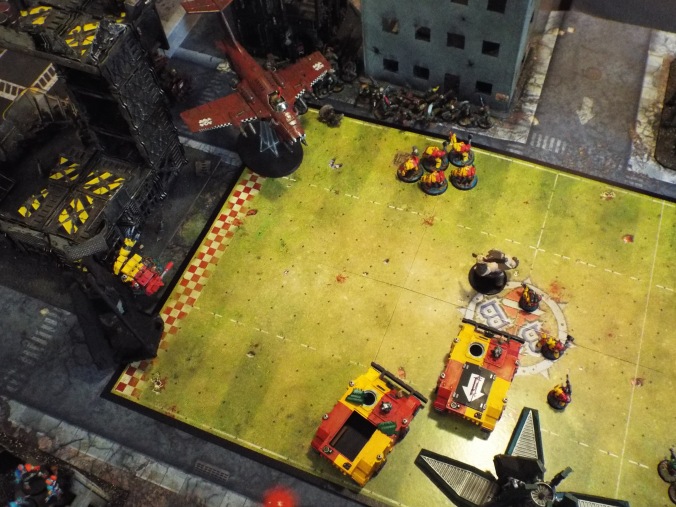
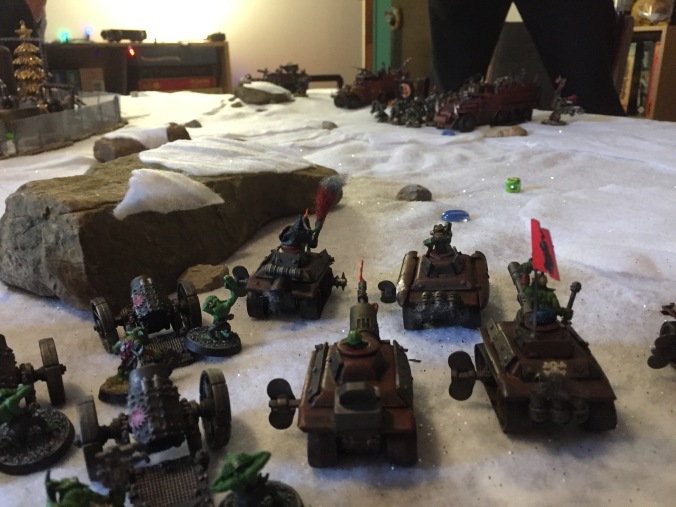
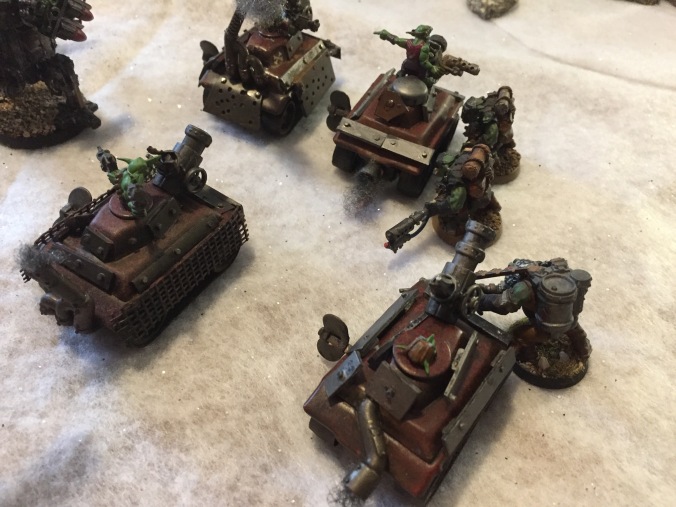
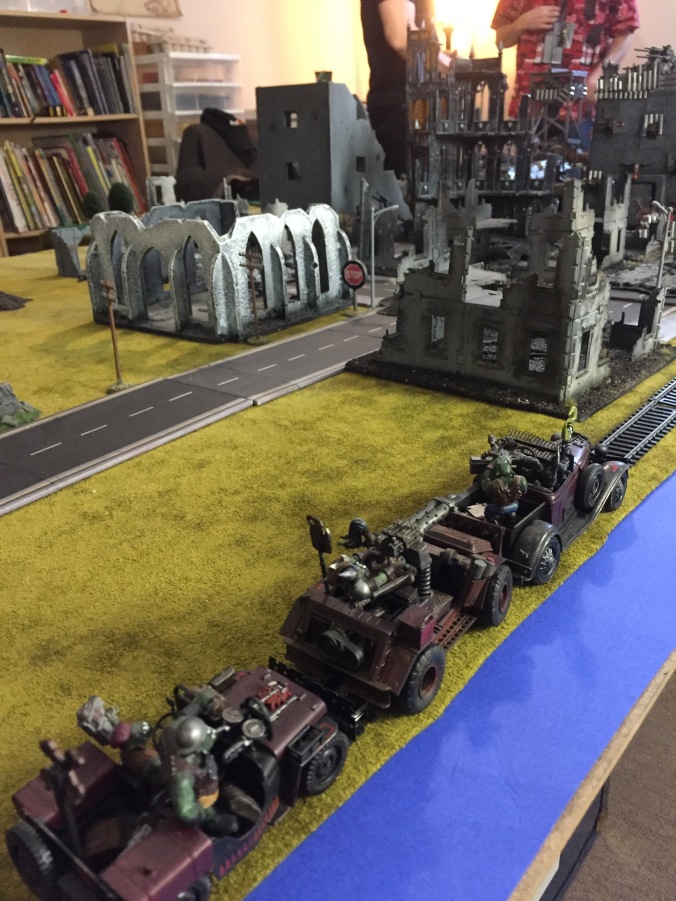
Da Grinch and his trusty sidekick Maxx deployed to the southwest. Their mechanized forces consisted of two squads of ‘Ard Boyz, a unit of MegaNobz (led by Da Grinch personally), and a unit of Lootas in Trukks. This was reinforced by a Battlewagon (with a squad of Nobz inside), a Looted Wagon, and a squadron of four Warbuggies. Four Deffkoptas were in reserve. The cunning warboss was reluctant to head too quickly towards the cathedral ruins, fearing he had too few boyz to get into a choppa-to-choppa slugfest with Scrooge’s massive horde. Instead he would send the bulk of his forces around the left flank, hoping thereby to cut off the enemy if he grabbed the relic. The Looted wagon would be sent towards Doctor Morork’s Stompa, hoping to distract or delay it until the Deffkoptas could arrive with their rokkits, and hopefully start to do some damage. The Lootas would hang back to provide general fire support, and try to down any bothersome flyers.
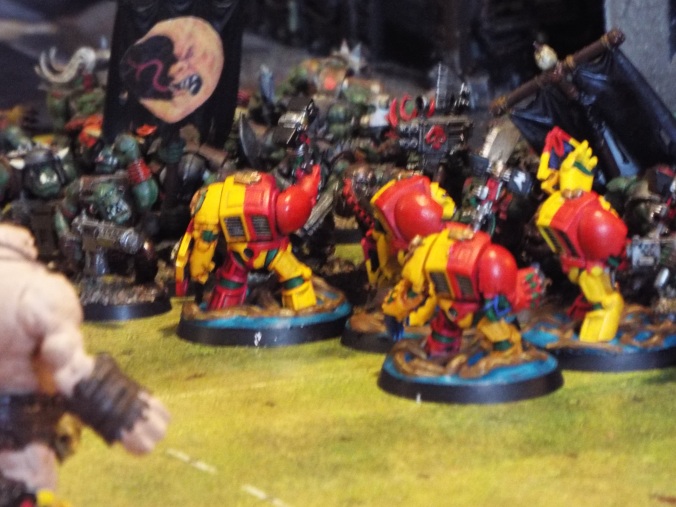
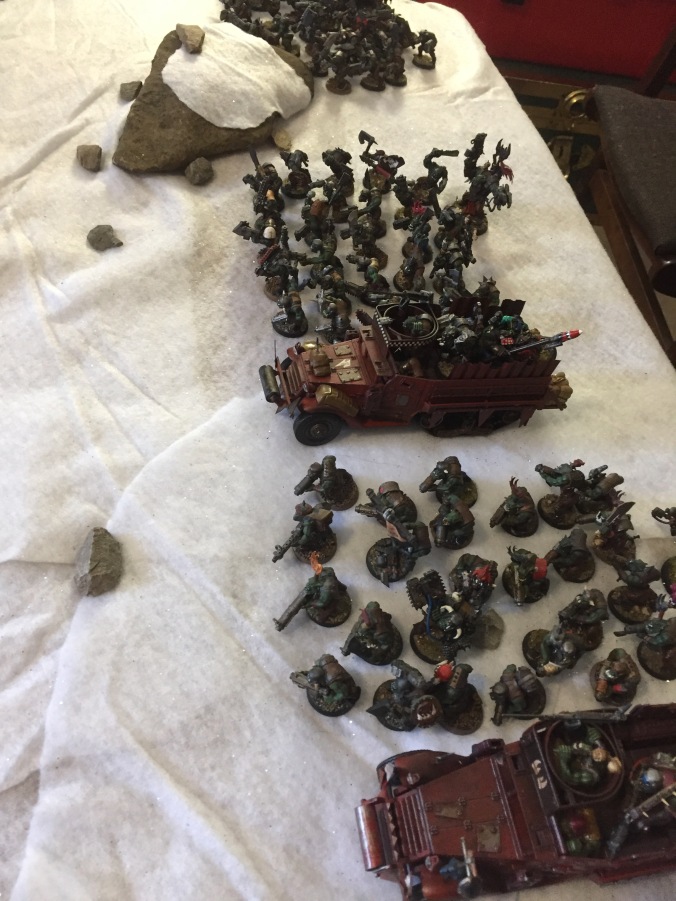
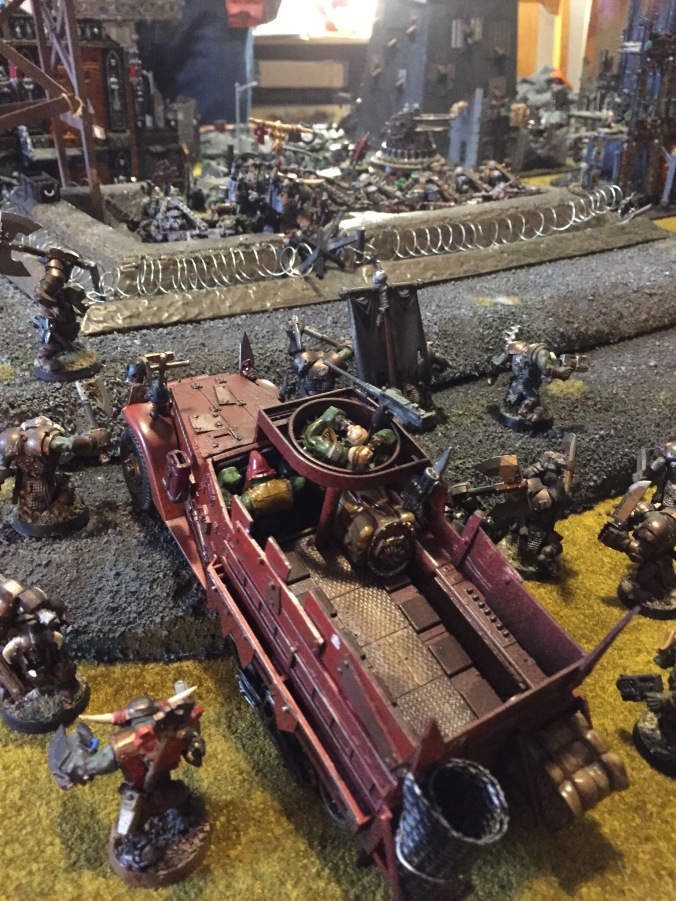
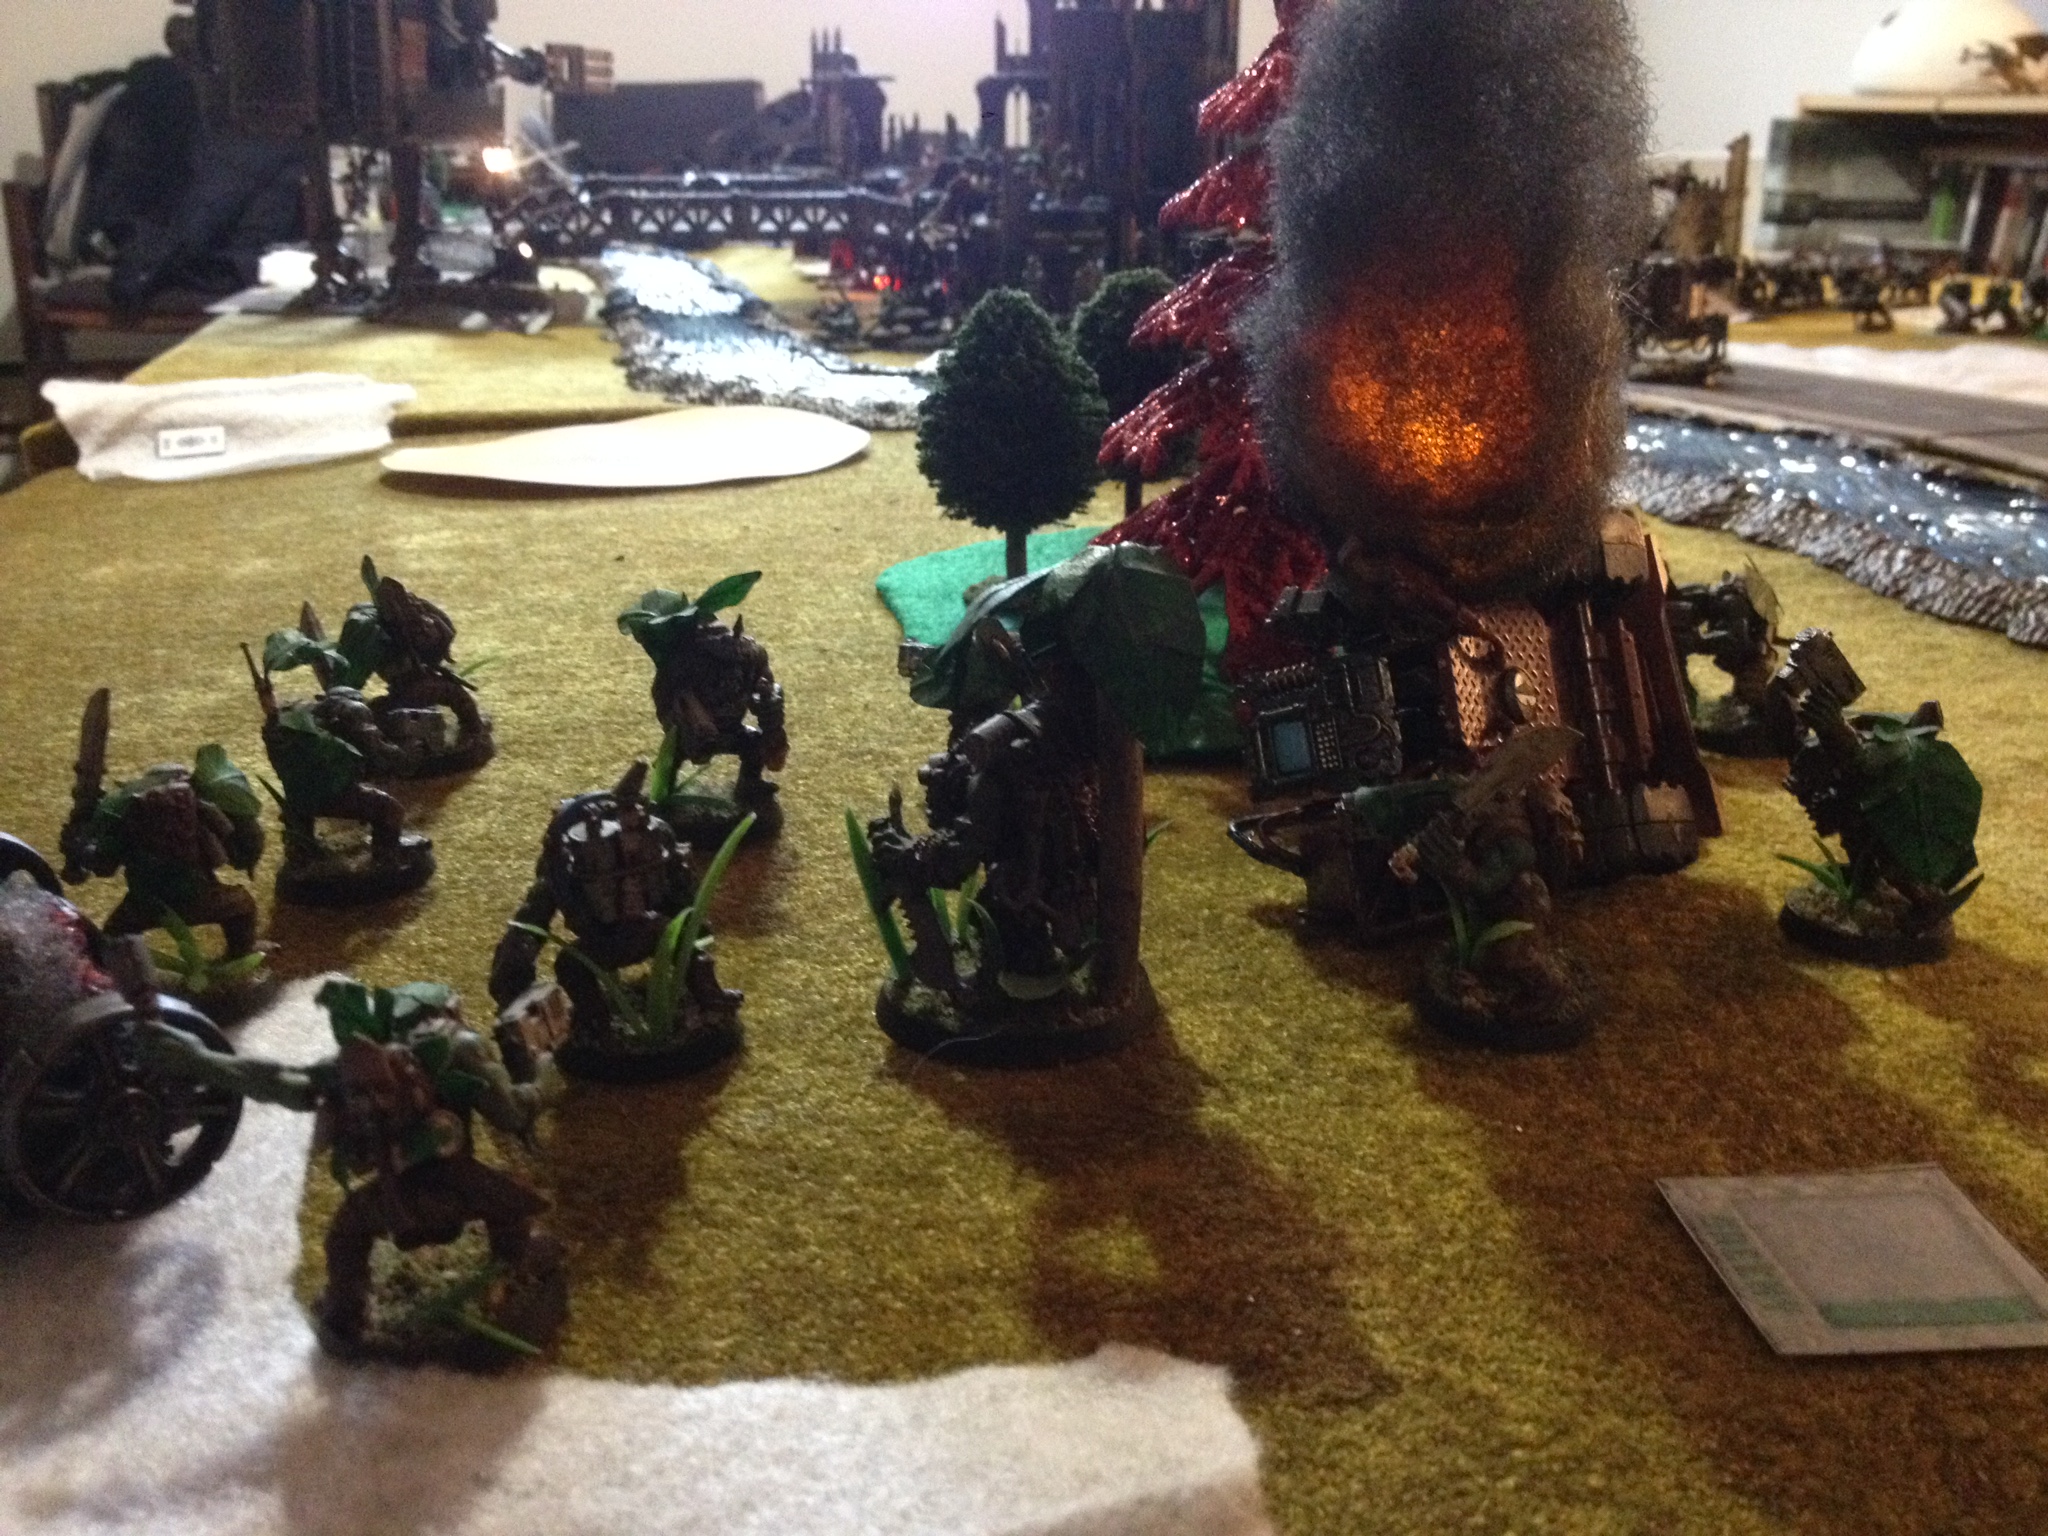
Which, of course, left the foot-slogging hordes of Warboss Scrooge. Scrooge had a deep aversion to too much technology, and as a consequence viewed Doctor Morork’s bizarre tinkering with cybernetics, grots, and genetic engineering as a perverse violation of the Ancient Greenskin Ways. His forces consisted of two large mobz of Slugga Boyz, two equally large mobz of Shoota Boyz, a squad of Tankbustas, a squad of Burna Boyz, Stormboyz (led by Zagstruk) himself), and Kommandos (led by Snikrot). The latter two, he hoped, would cause much mayhem in the enemy’s rear. Spiritual guidance—or, at the very least, strange chanting interspersed with gibberish and odd psychic pyrotechnics—was provided by a Weirdboy mounted top a magnificent almost-albino-but-not-really war boar.

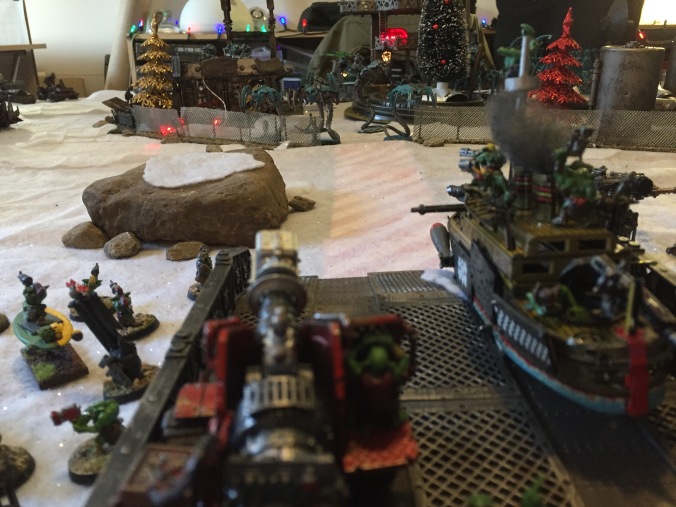
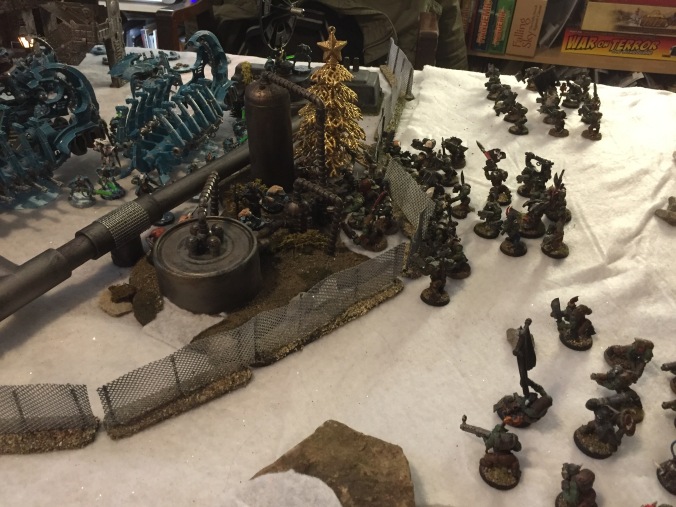
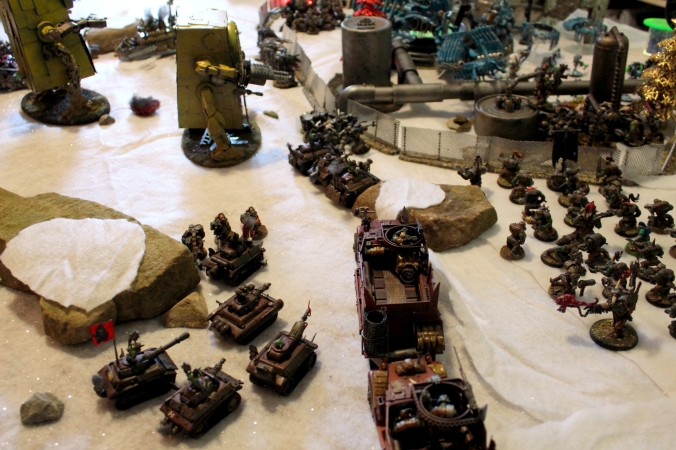
Scrooge’s greenskin horde enters Who-ville.
Scrooge deployed almost his entire force in the center of the battlefield, hoping to overwhelm with sheer numbers.
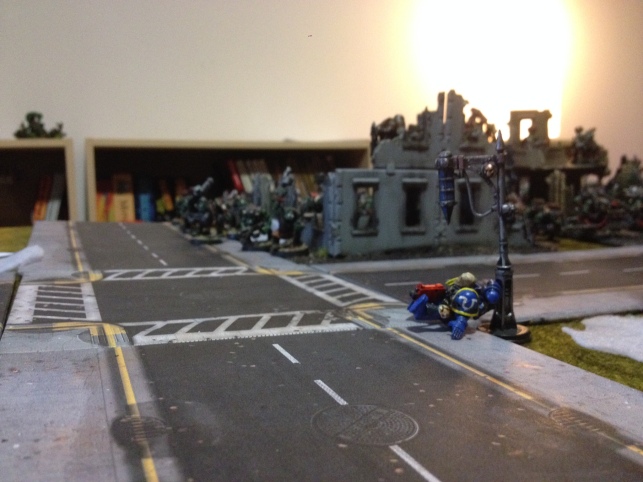
Still more boyz–and the sole remnant of Who-ville’s former Imperial garrison.
This left him almost out of range of Morork’s artillery, which he had deployed to the rear and considerably further east.
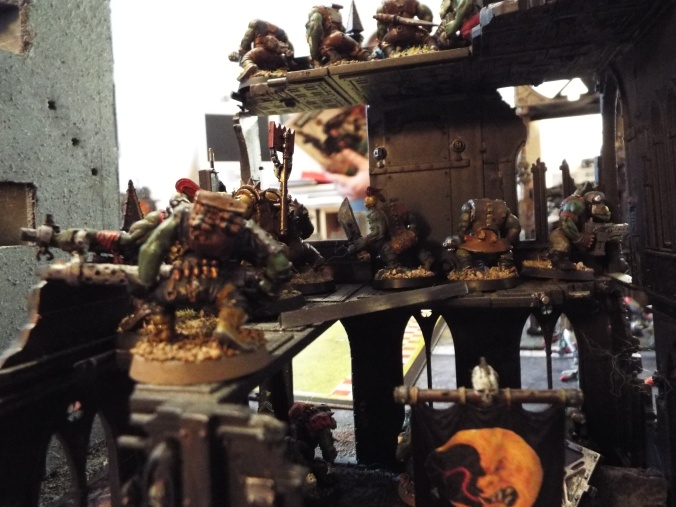
A mob of Slugga Boyz enters a destroyed building across the street from the cathedral.
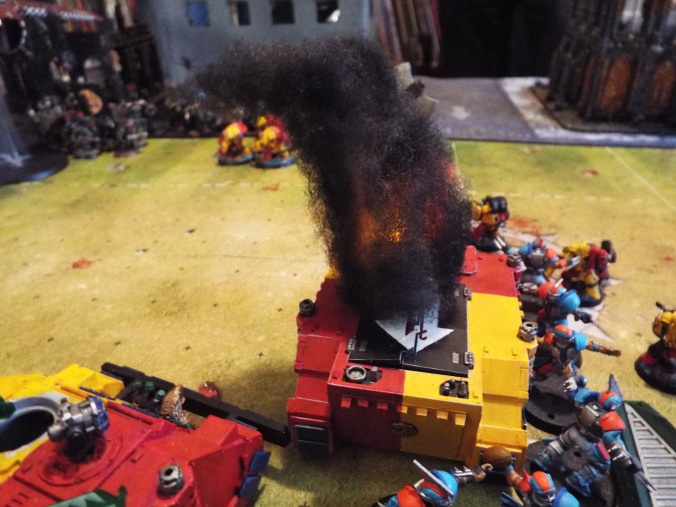
However, that also made him vulnerable to to the huge Deff Kannon on the Stompa. It fired, downing large numbers of Orks. Scrooge was not deterred, however.

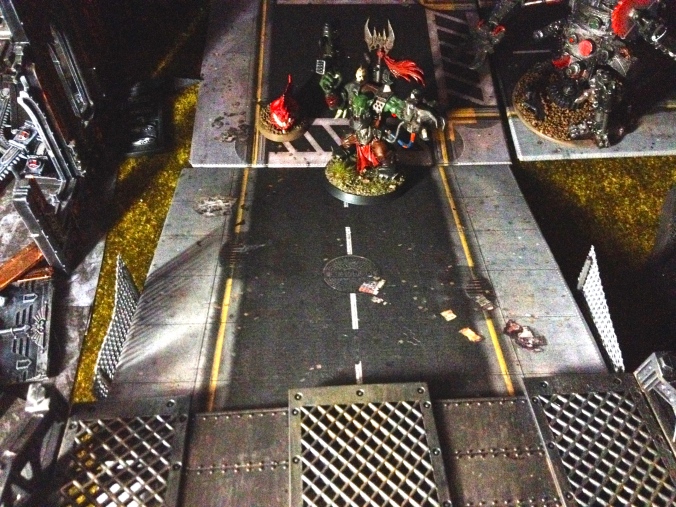
The ridiculously photogenic Warboss Scrooge strides through a Deff Kannon explosion.
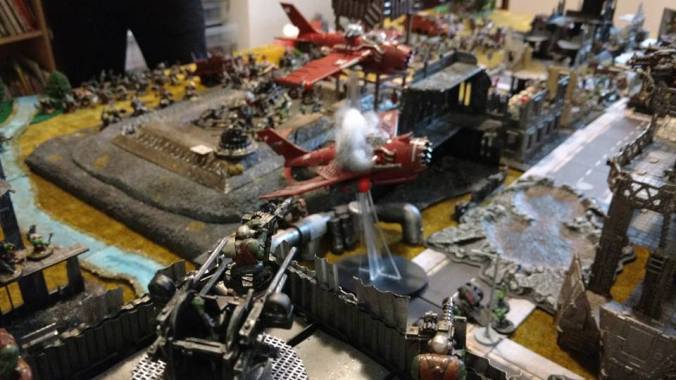
Morork followed up a little later with attacks from the air.
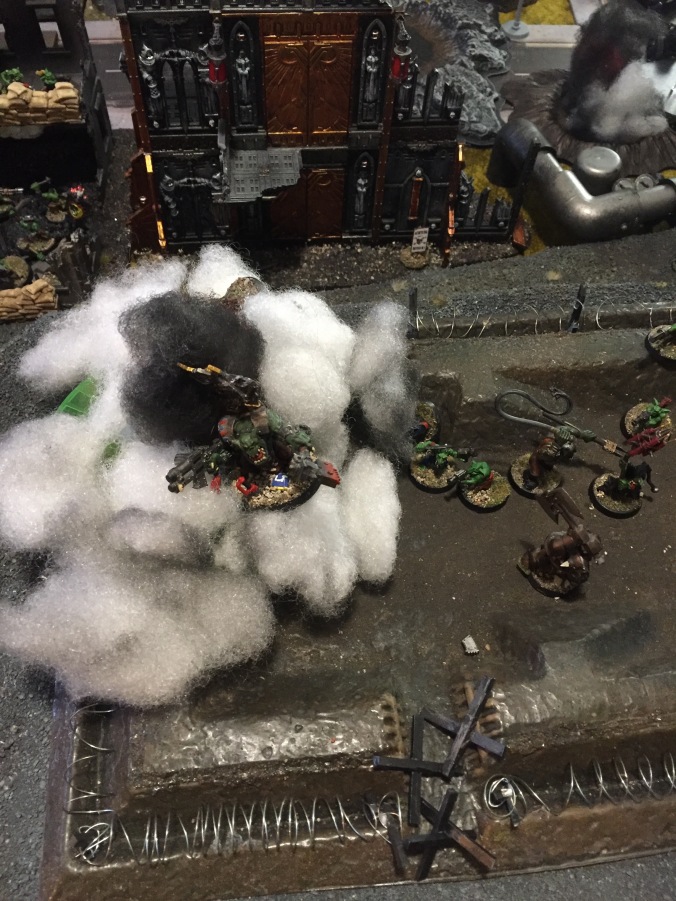
The Blitza-Bommer drops a Boom Bomb in the midst of Scrooge’s massed boyz, resulting in rather fewer boyz.
First the Blitza-Bommer and then the Burna-Bommer unleashed their deadly weapons into the massed crowd of greenskins, bringing down many more. The former took some hits from the Lootas, however.

The Burna-Bommer follows up a turn later, loosing salvos of flamey Skorcha Missiles into Scrooge’s position.
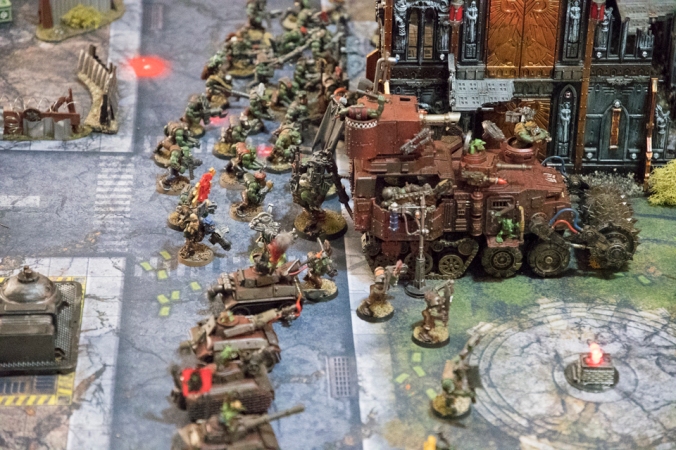
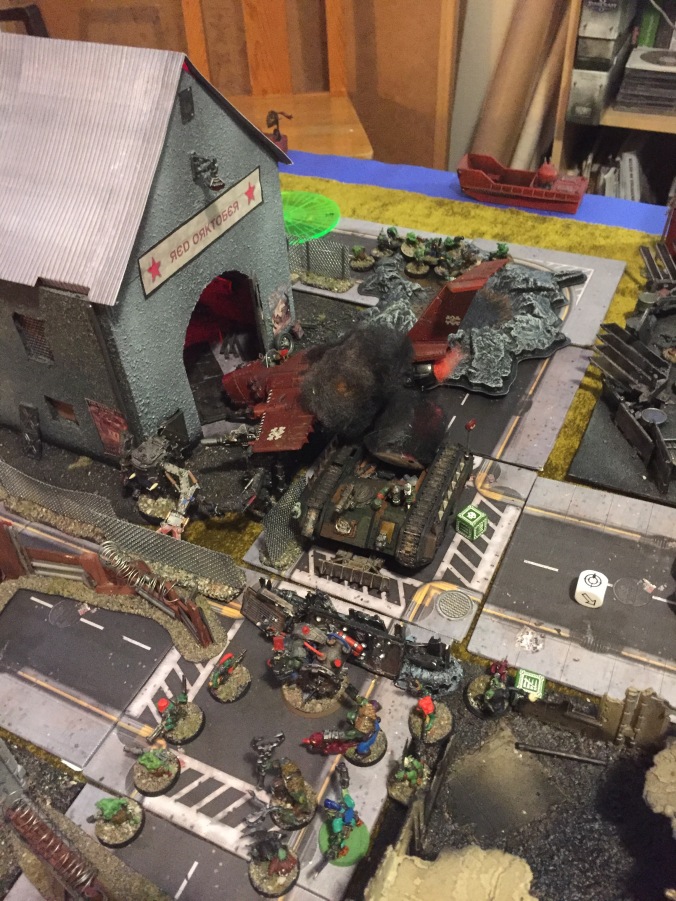
Meanwhile, Da Grinch’s forces had begun their flanking move to the left. One Trukk was gunned down by the Supa-Gatler on the Stompa, and the Ard Boyz within eliminated by even more fire from the contraption. Not long after, a blast from the Deff-Kanon largely obliterated the second squad of Ard Boys, who had sought shelter in a ruined church. The MegaNobz disembarked, and started to advance slowly.
Da Grinch attempts to envelop Scrooge’s left flank, but takes heavy fire from Morork’s Stompa en route.
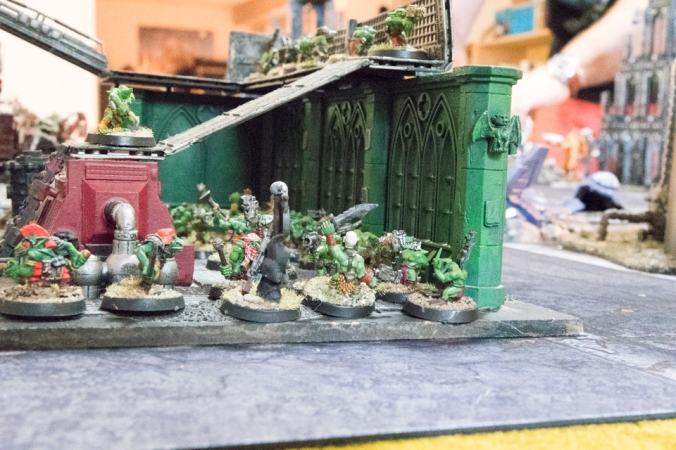
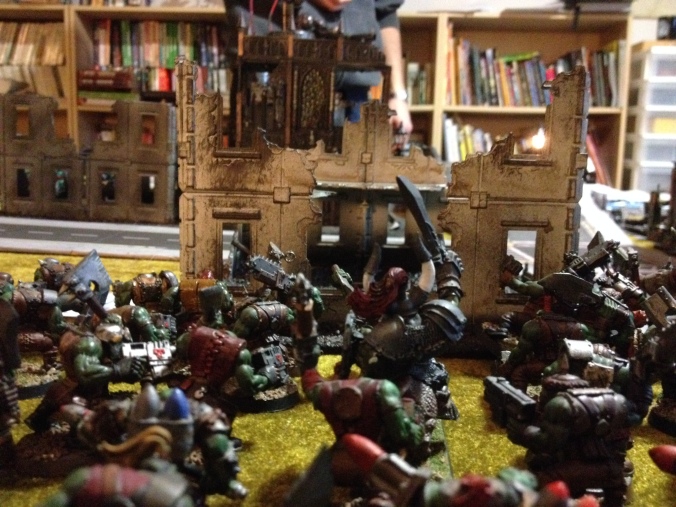
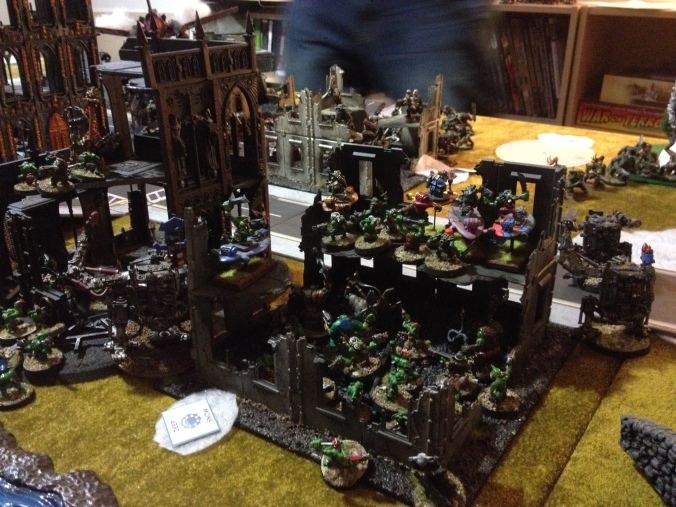
Despite all the carnage thrown his way, Scrooge’s forces reached the cathedral first. Guided by the Hand of Mork (or possibly Gork) himself (or maybe herself), Burna Boyz entered the ruined shrine to claim the relic and prepare to remove it to their territory.
The Hand of Mork (or possibly Gork) puts in an appearance in the cathedral.
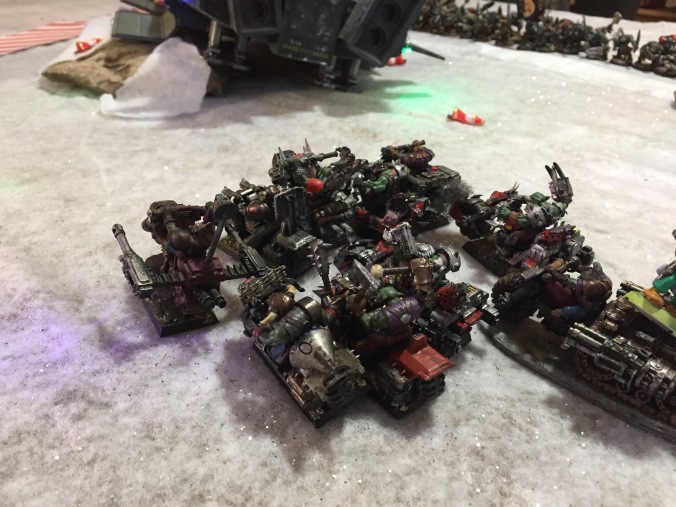
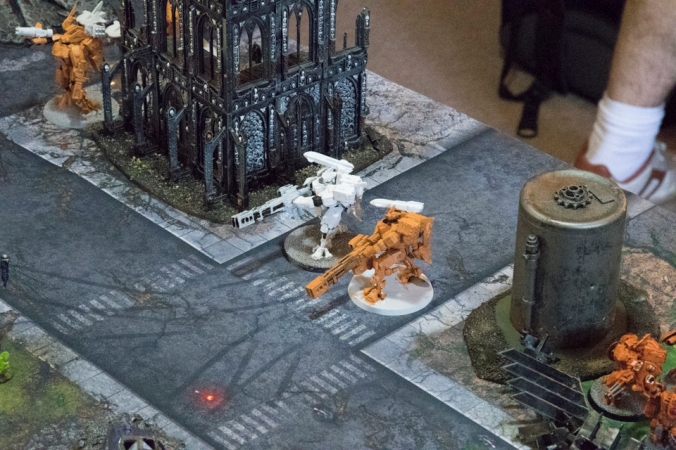
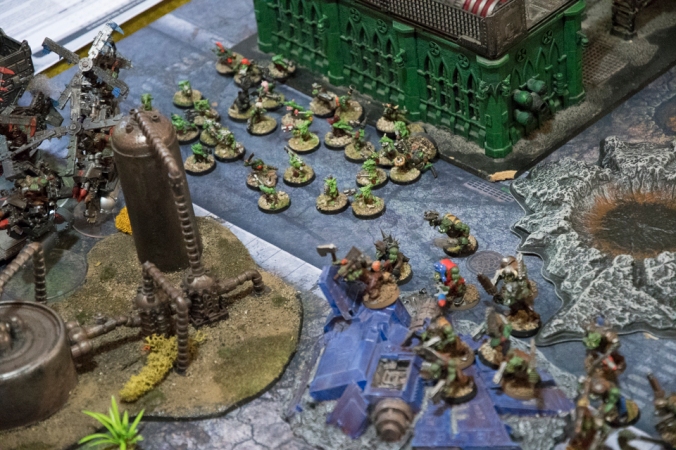
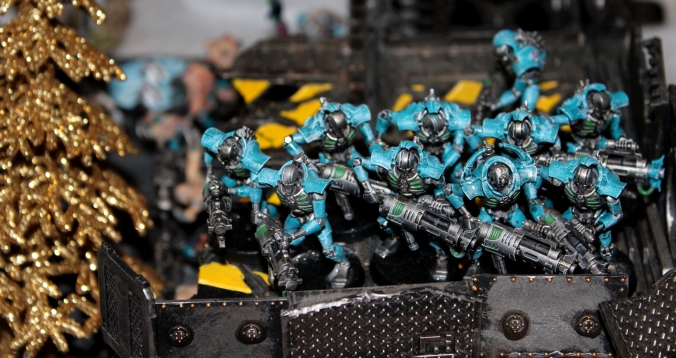
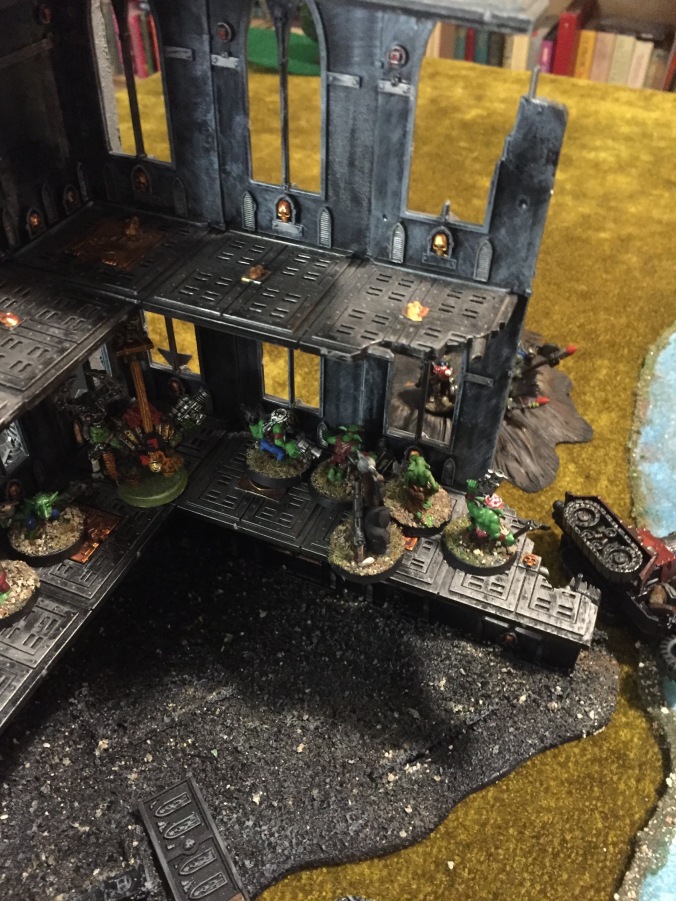
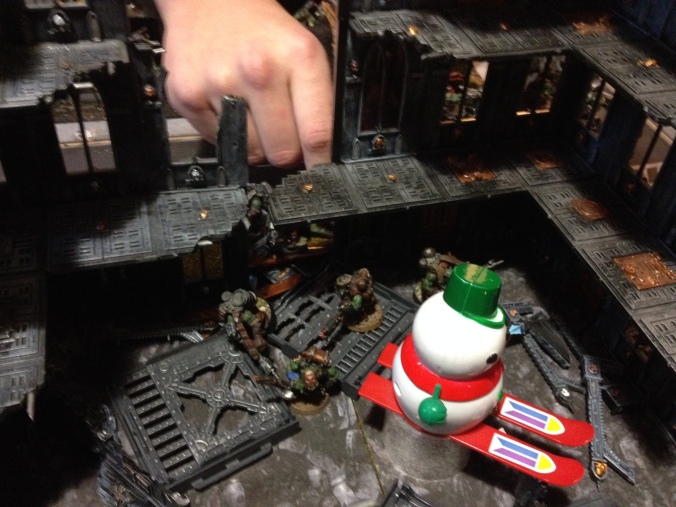
Doctor Morork’s Grot troops took up position in the ruins across the street from Scrooge’s boyz, and started to trade shots and insults about everyone’s dubious parentage. The Kans and Dredd pressed on.
Grot-infested buildings.
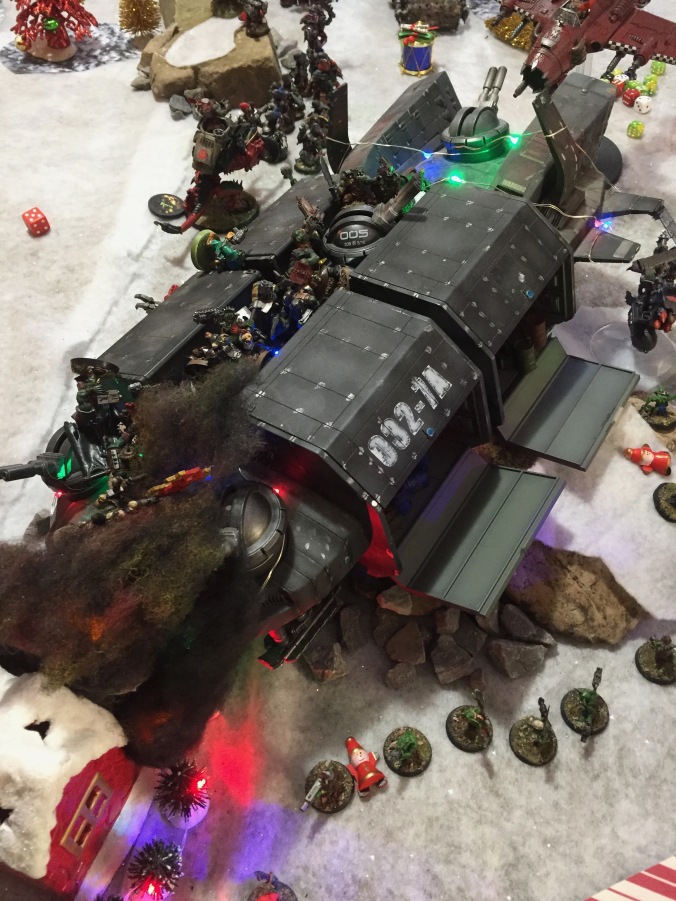
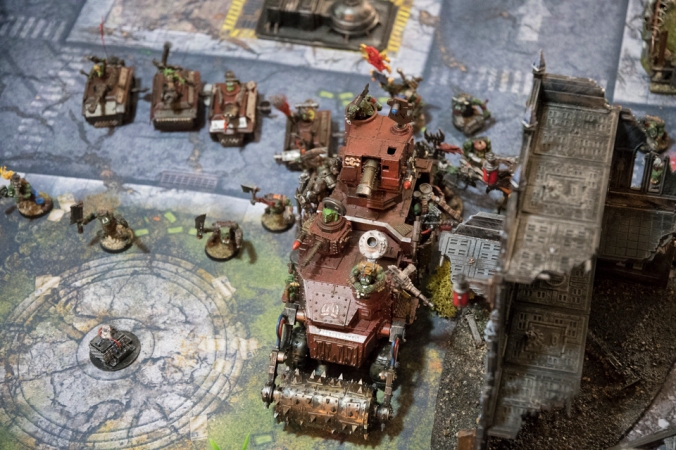
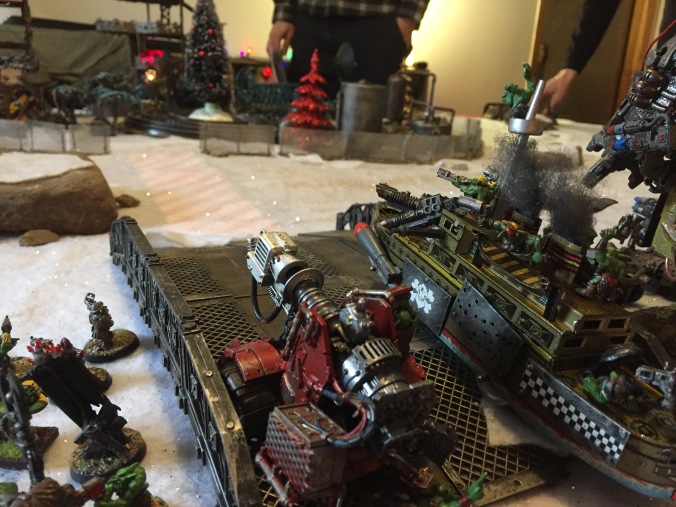
The Stompa destroyed Grinch’s Looted Wagon, gunned down the boyz in the cathedral, took out a Trukk and a Warbuggy, then climbed on top of the bridge, apparently headed towards the cathedral itself.
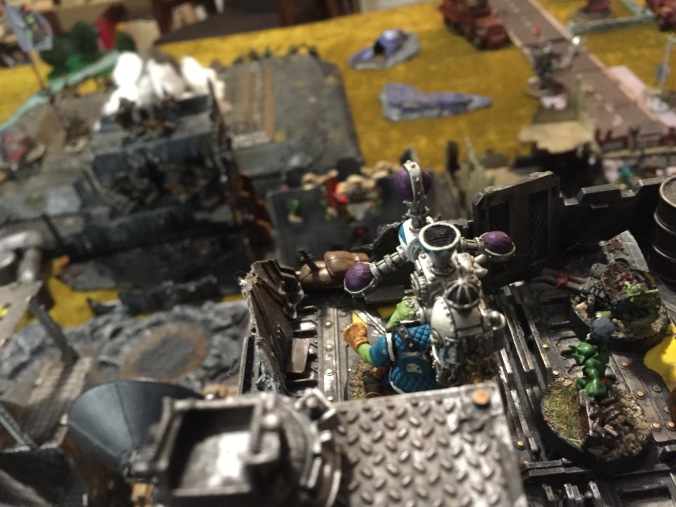
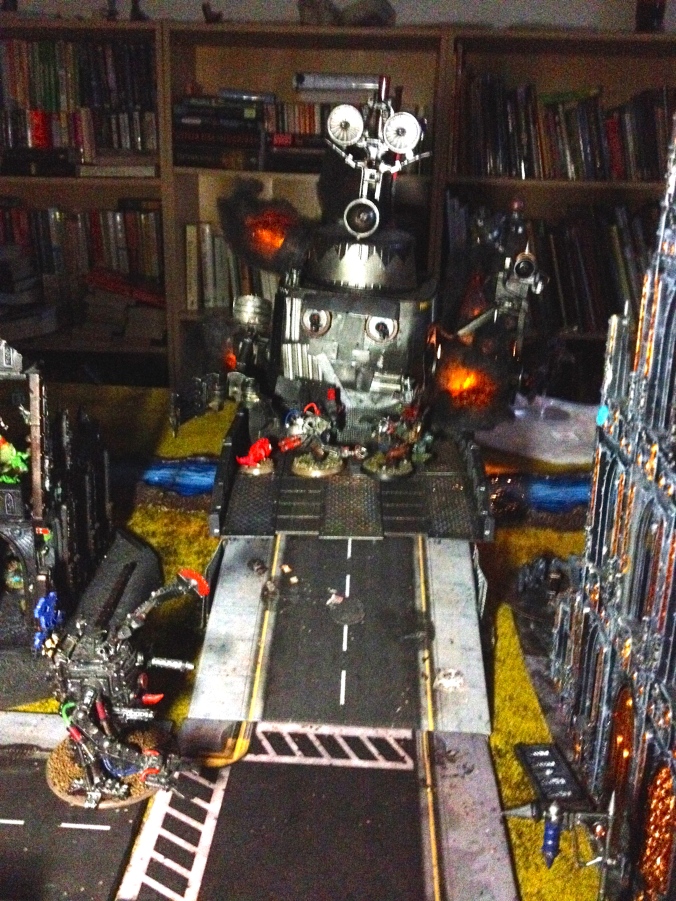
Doctor Morork towers over the battlefield, looking for things to stomp.
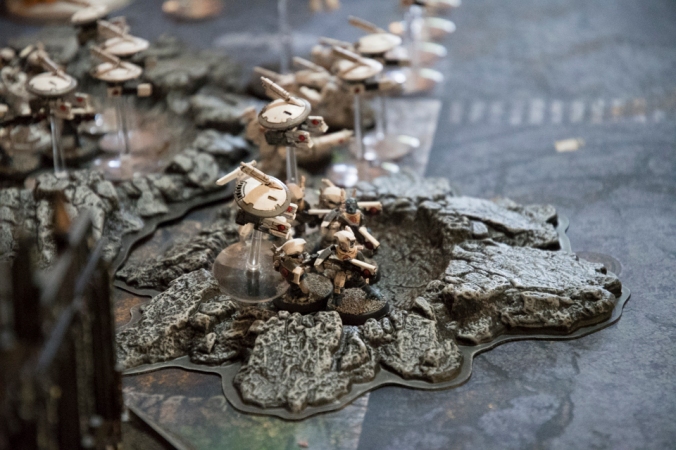
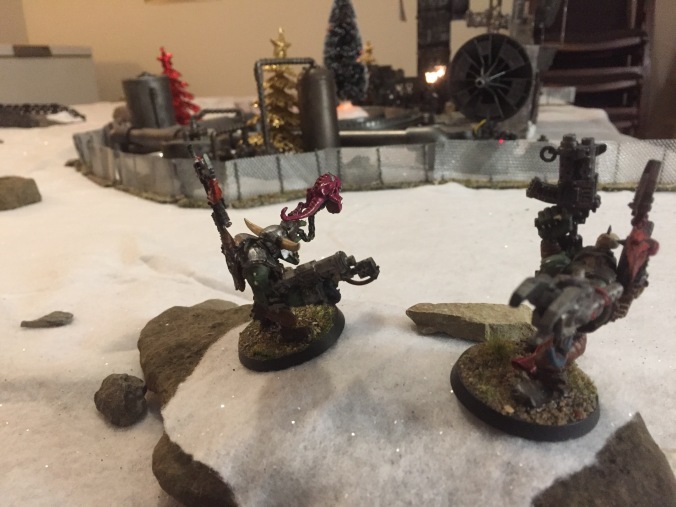
However, wily Scrooge had a trick or fifteen up his sleeve. Snikrot and the Kommandos suddenly appeared on the eastern edge of the battle. They quickly overran two units of Mek Gunz…

Surprise!
…and then hunted down the Shokk Attack Gun in the woods.
Big Meks can run, but they can’t hide (at least not when they are carrying a giant blinky-hummy Shokk Attack Gun).
Not long after, Zagstruk and the Stormboyz landed to the rear of Doctor Morork’s forces, not far from the Stompa itself. Several drowned in the river, and others were shot down by Grots. Still, they posed a formidable threat.
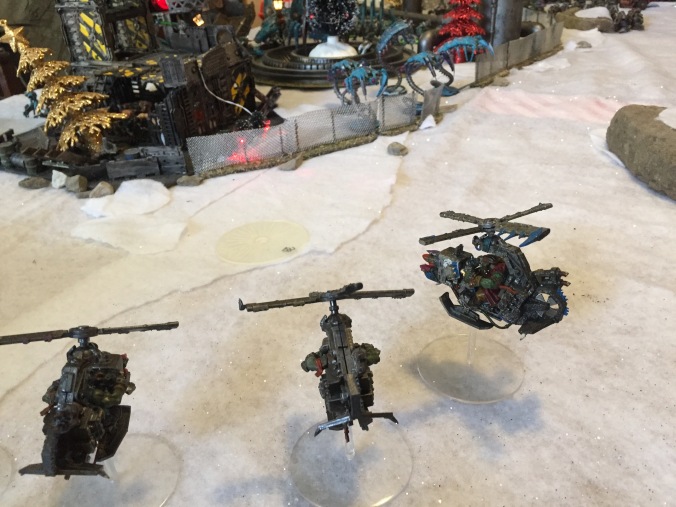
The Stompa began to take hits from a growing number of Deffkoptas that whirled around it like so many angry mechanical twin-linked-rokkit-armed bees piloted by large green ork-like things. At one point, the Weirdboy even conjured up a giant Green Foot that krunched it a little.
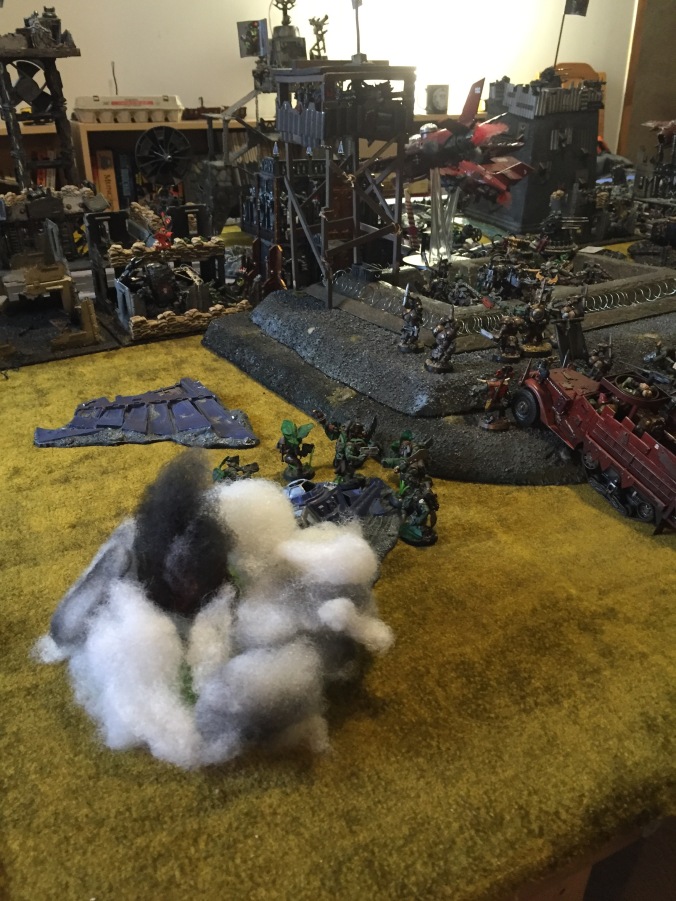
Suddenly, freak atmospheric conditions plunged the battle into darkness! [1] Mere darkness, however, is not enough to keep greenskins away from a good battle. [2] Emergency lighting protocols were instituted.

Emergency lighting protocol Orky Omega.
At this point, Da Grinch made his move. Waaaaaghhhhhh! Supported by much dakka from Maxxx and the Warbuggies, the MegaNobz assaulted Grinch’s boyz in the nearest ruins, all but wiping them out. The Battlewagon then advanced, disembarking its Nobz outside the cathedral and gunning down most of the survivors in the street. Even Scrooge himself was wounded.
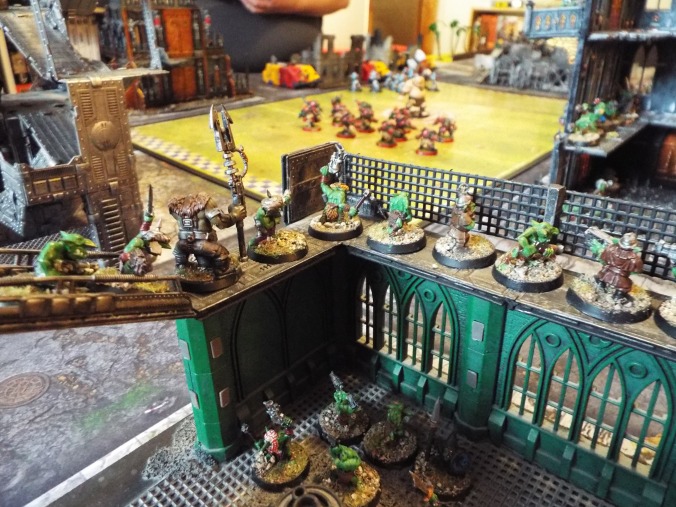
Da Grinch’s flanking attack hits Scrooge hard to the north of the cathedral.
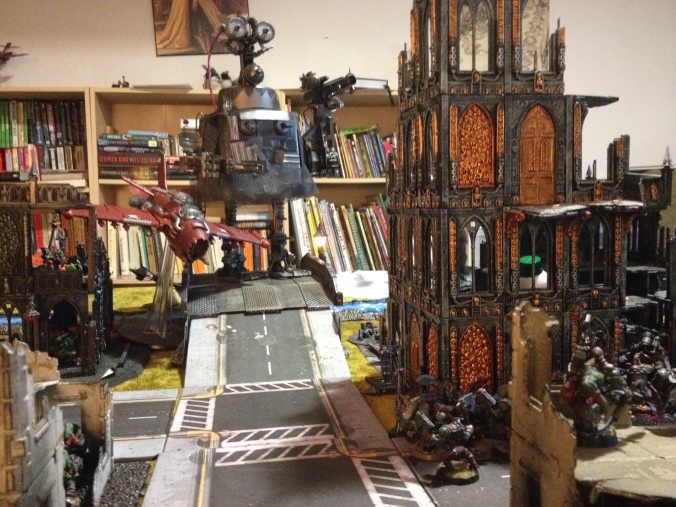
Meanwhile, Doctor Morork’s Kan’s had reached the remaining mob of Shoota Boyz, an a melee ensued. The Deff Dredd changed direction, and began trundling down the road towards the cathedral and relic.
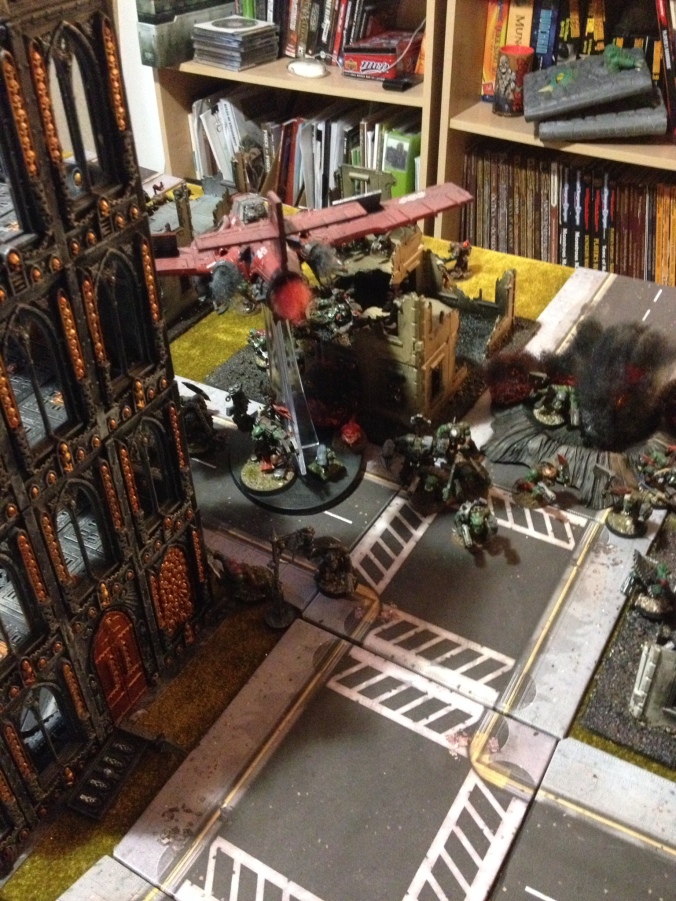
In desperation, rage, or just to see what would happen, Scrooge announced his own Waaagh, and charged towards the Stompa from the front. Zagstruk and the remaining Stormboyz did the same from the rear.
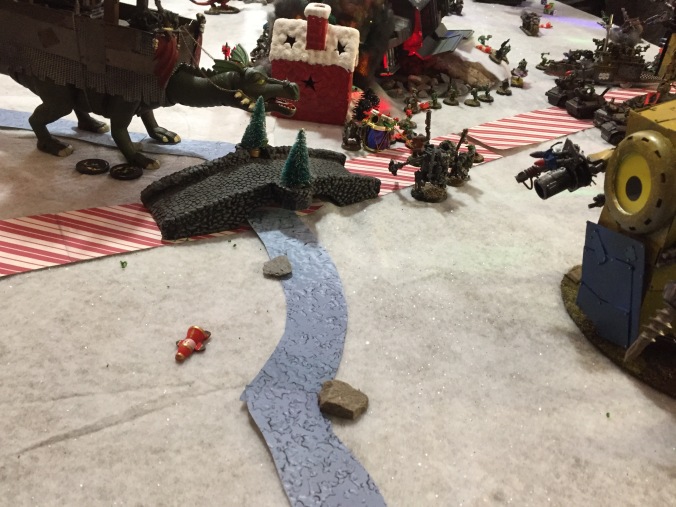
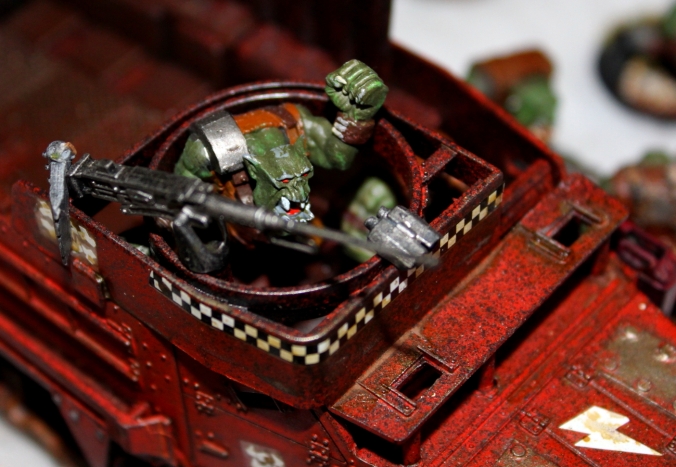
As a Deff Dredd looks on in amazement, Warboss Scrooge and his trained attack squig Cuddles charges towards Who-ville bridge—and the towering Stompa atop it.
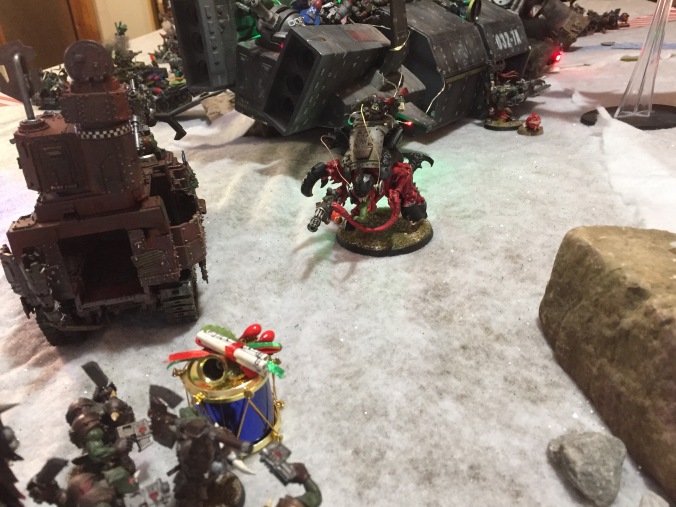
The stationary Stompa was torn apart by Scrooge’s klaw, and exploded! Doctor Morork—or, at least, his most recent body, since his mind was hurriedly backed-up to a storage device far from the battlefield—clambered out of the wreckage to face his green nemesis. The two grappled and klawed, as the Stompa continued to burn behind them.
The epic finale of the battle. The remotely-controlled cybernetic body of crazed Mek genius Doctor Morork battles with Warboss Scrooge (slayer of behemoths) as a Stompa explodes atop a bridge and dusk falls on Who-ville. Even the bastard love-child of George Lucas and James Cameron couldn’t write an ending like this.
Neither would survive the combat.
The game finished in complete darkness at the end of Turn 4. At this point Doctor Morork had 3VP (one for first blood, two for killing an opposing warboss in a challenge), and Scrooge also had 3 VP (one for a unit in an enemy deployment zone, and two for killing an opposing warboss in a challenge). Da Grinch only had 1 VP (for having a unit in an enemy deployment zone), BUT had sizeable force (Nobz, Meganobz, Grinch, and Maxx) nearest the relic. As is traditional at Orkmas, the game was therefore declared a draw.
[1] Following snow, ice pellets, freezing rain, high winds, and a sudden drop in the temperature outside to -20, the power cut out.
[2] Nor does it stop hardy Canadian gamers from gaming.